 This is what it all looked like before demo. I wish you could see just how ugly and bulging the walls were. You also can't see the areas where the plaster had been reduced to simple sand that trickled out steadily into the bathtub (good thing the tub is too small to take a good bath in anyway...). Alas, those endearing aspects simply did not photograph well. But you can sure see the cracking, which had progressed far beyond the hairline stage.
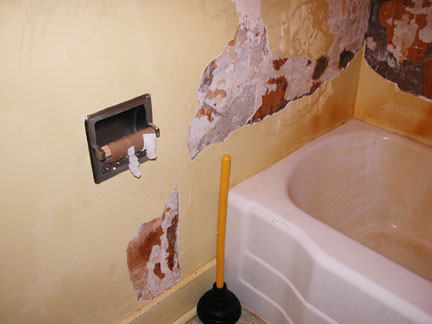
I began chipping away small pieces in the worst spots . . .

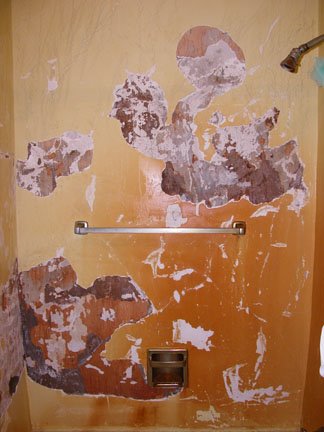
And soon discovered that we had two full walls' worth of "worst spots"! ACK!

This picture shows what things looked like after the scratch coat and the brown coat. After these finished curing I ended up having to skim coat the entirety of both walls in order to get a decent finish. And, I'll admit it — I got uber lazy on the skim coat for the back wall. Since we put up a shower liner to avoid having rust stains all over the place again, I figured no one would really ever see that wall, so my efforts to really skim coat that smoothly and nicely were....ummm, shall we say less than robust. Still looks a whole heckuva lot better than it did, though! I'm not sure if I have any pictures of the skim coat before painting. Skim coating, for whatever reason, turned out to be an even filthier job than doing the first two coats!
I couldn't be happier that we're going on a couple of months, and the plaster seems to be holding up well. Rapping on the wall yields a nice solid sound, and it no longer makes that crumbly sound every time you accidentally hit it with your [insert body part here].

1 comment:
Wow, that's a lot of work! Looks great, though!
Post a Comment